Create a DIY Gurmukhi Alphabet Book
Turn alphabet practice into a fun, hands-on craft. This activity guides you and your child in creating a personal Gurmukhi notebook they can be proud of.
This simple craft turns plain paper into a treasured personal journal for Gurmukhi practice. It was inspired by watching a child’s joy in making her own little books. It taps into a natural love for creating and owning something personal, which can transform a chore into a cherished activity. You can prepare these ahead of time as a surprise, or enjoy the creative process with your kids.
What You'll Need
- A few sheets of colored paper (for the cover)
- Plain white paper (for the inside pages)
- Scissors
- A stapler
- Markers, crayons, or colored pencils
The 3 Simple Steps
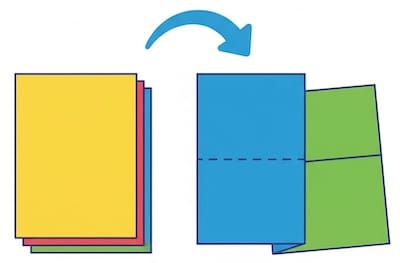
1. Fold
Take a few sheets of white paper and one colored sheet for the cover. Fold them all in half together. This creates the crease that will become the spine of your book.
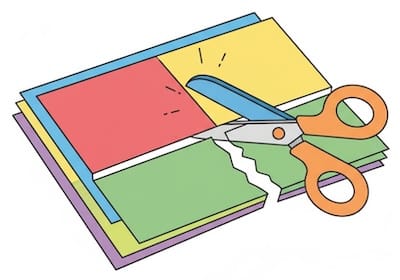
2. Cut
Cut along the fold you just made. This will create your pages, which will be half the size of your original sheets. You should now have a neat stack of pages and a cover.
3. Staple
Place the stack of white pages inside the folded colored cover and line them up. Carefully staple along the outer edge to bind your notebook together. Two or three staples should be enough.
A Note on Safety
Using tools like scissors and staplers is a great way to build skills, but adult supervision is key. A student once told us a scary story about her sister accidentally stapling her own hand! It's a good reminder to always be careful. Show your child how to use the tools safely, and keep a close eye on them.
Bringing the Book to Life
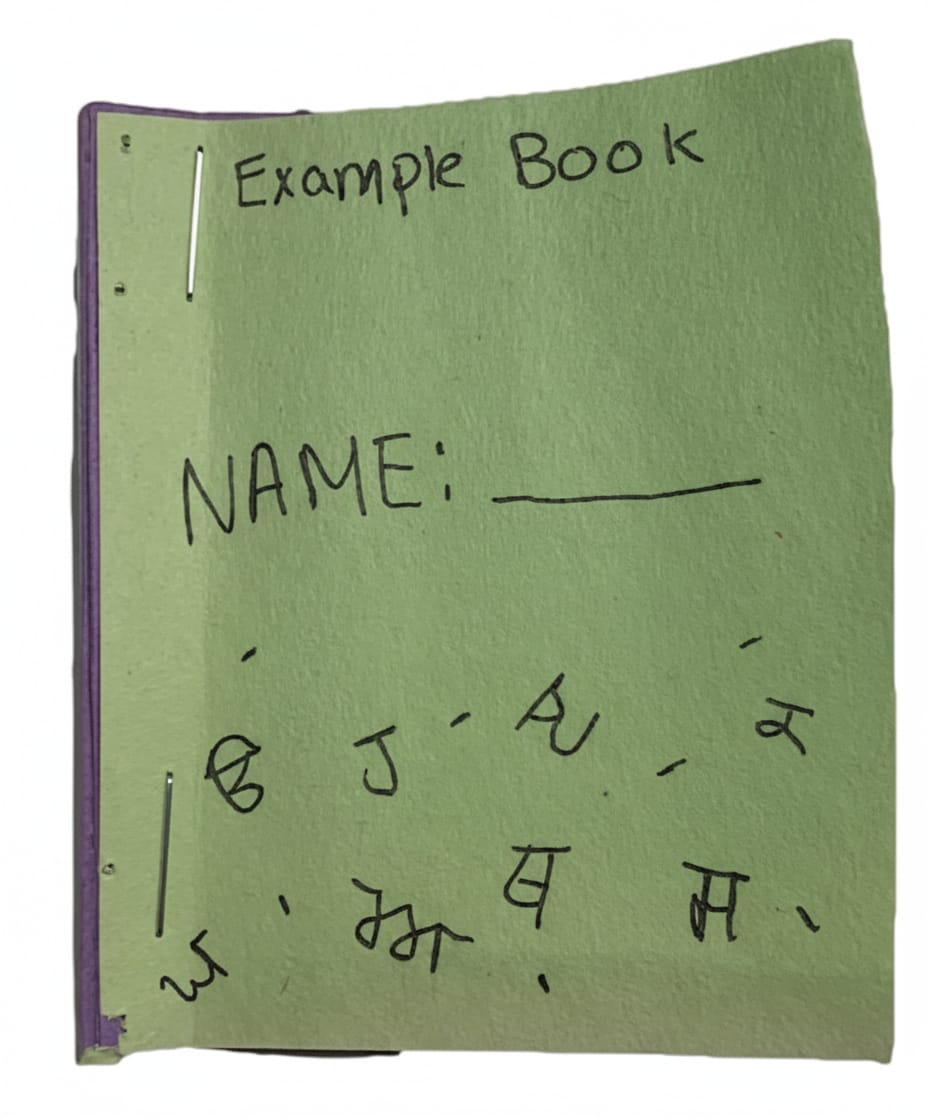
Now for the best part! Encourage your child to make the book truly their own. They can write their name on the cover, turning it into their personal Gurmukhi journal.
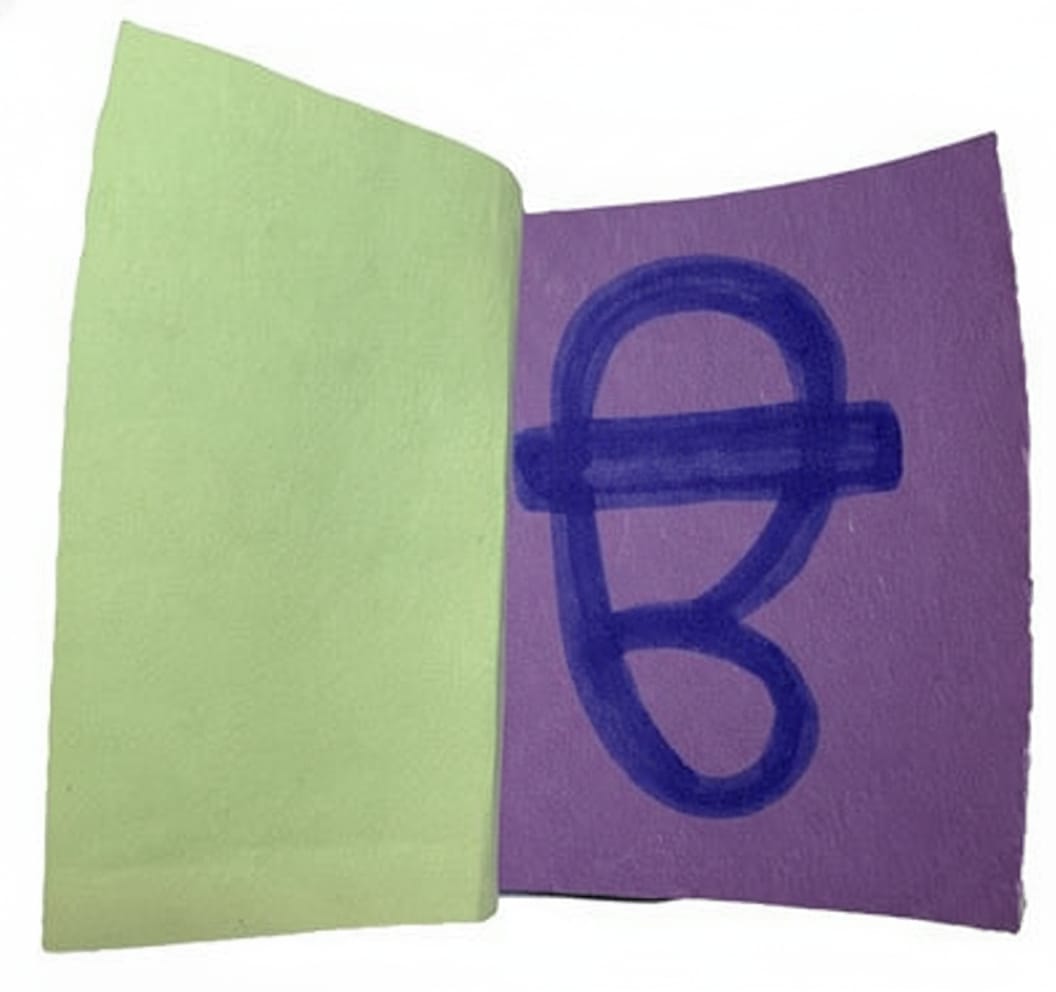
Assign one Gurmukhi letter to each page. They can practice writing the letter, draw a picture of something that starts with that letter, and color it all in. This creative process is what makes the learning stick.
To make it even more special, you can use the notebooks as a fun reward. In the class that inspired this activity, the teacher put the pre-made books in a bag and let the kids pick their favorite color after they finished their work. That small moment of choice and reward created so much excitement.
And don't forget the "show and tell"! At the end of your activity, let your child proudly show their creation to family members. That moment of shared excitement is a huge motivator and a wonderful memory to create.